An Advanced Setup
So you have "played" with the little eyedropper in a glass of soap and you want to move to the next level ;-) Here is a nice setup that is easy and inexpensive to put together that will make things very easy.
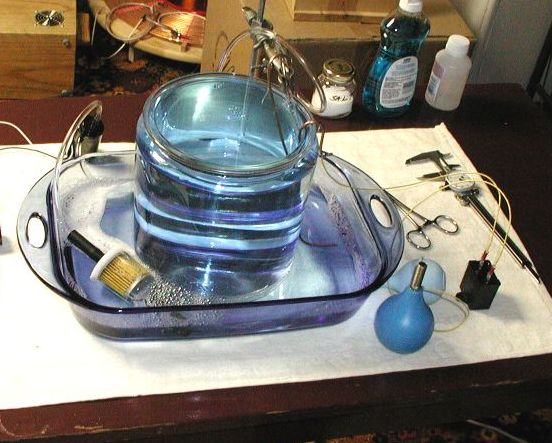
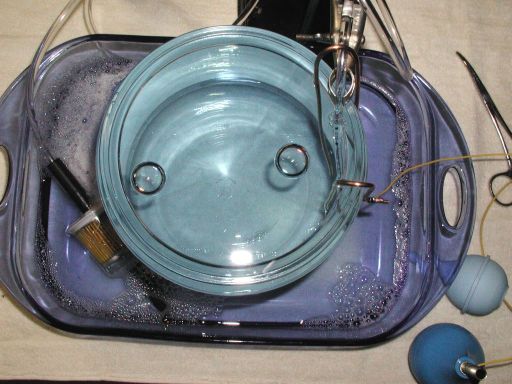
Basically, it is a big 4 quart glass flat tray with a big cookie jar in it. The solution is electrically pumped from the bottom tray to the top of the jar. This provides a steady flow of filtered solution to the jar that cleans the solution and washes away the little bubbles and floating junk from the surface of the solution. Thus, you always automatically have a perfect area to make antibubbles. A big rubber squeeze bulb is used to make the bubbles. Note the towel under it (very important) and the power supply for the pump and a capacitor on the right (yellow wires). Here is a list of parts. I think there is about $50 worth of stuff here:
1x ~One gallon cookie jar (I got mine from Target).
1x 4 Quart flat dish (Target).
10 feet 3/8" ID vinyl tubing (used to siphon the solution around) (hardware store).
10 feet 1/4" OD vinyl tubing (used to hook up the pump) (hardware store).
5 gal Plastic bucket to hold the solution (hardware store).
1 bottle Dish soap (see above).
1 Small bottle of glycerin from the pharmacy.
1 Big squeeze bulb. The pharmacy has these for washing out ears and the baby section has them too. The grocery has them for sucking up bacon grease and I am sure there are others around. A plastic squeeze bottle can be used to. You may have to try stuff here to see what you like best. I think the auto parts store has them for battery acid and maybe other uses too.
1tblsp Common table salt.
1 "Fram" type "G1" or "G12" fuel filter (auto parts store by the air and PVC filters).

2 Big terry cloth towels. One for under the tray and one for wiping the stuff up. The auto store sells these cheap but try to get the quality ones as opposed to the really crappy ones.
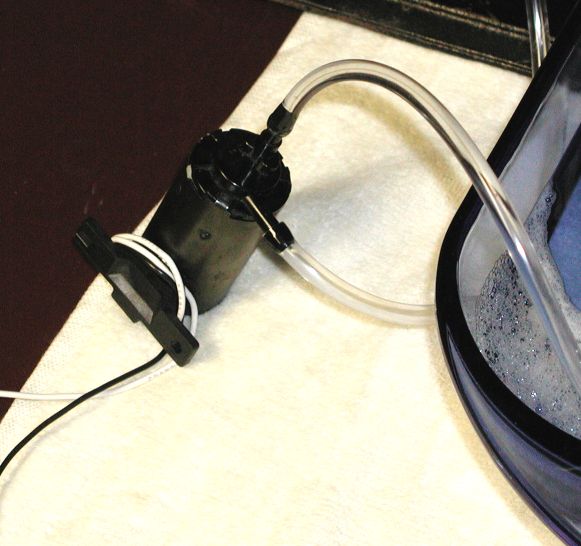
1 After market windshield washer pump. This is just a small 12VDC motor with a little pump on the end usually used to fix a broken window washer pump. The cheap auto parts store has them. There are also submersible aquarium and decorative fountain pumps around too that work just as well but they cost more.
1 6 Volt lantern battery to run the pump. Any hardware store.
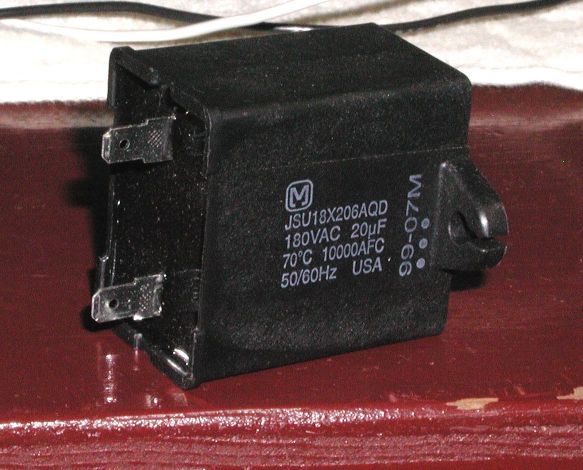
1 20uF non-polarized film capacitor. Do not use "electrolytic" types!! I use a DigiKey #P9404-ND AC dry film cap.
http://info.digikey.com/T022/V5/0593.pdf
"Motor run" caps and such could be used too. Any value from 5 to 20uF works. You could also get a bunch of Radio Shack #272-1055 caps. Sorry to use a weird part here but it is critical that you use one of these capacitors. Write me if you have problems getting the cap and we'll work it out. They cost me about $5 so I could probably buy, pack, and mail them for $10.
To show what the capacitor does, here is an oscilloscope trace of the voltage between the solution and forming antibubble:
The voltage jumps around wildly and far beyond the tolerable limit for making antibubbles. The top dotted line is ground and I was getting about -0.75 volts until the film burst and it shorted causing the big spikes. I could barely make a small antibubble during this test.
With the 20uF capacitor it looks like this:
Very smooth and controlled voltage now!! The antibubbles almost always start to form perfectly now and with a little luck you can make nice big ones :-)) Without and with the cap is like night and day!! I really like my system for making them, but my figuring out the voltage thing shown here is by far the most important thing I have discovered! Gone are all the finicky problems with getting them to start forming! The two bumps in the above are the voltages between the solution and the bubble while two big 1 inch plus antibubbles were formed!

This picture shows how the two wires from the capacitor are connected to a wire in the solution and to the metal nozzle I affixed to the big blue squeeze bulb.
Here are some pictures of the antibubbles:
With this setup, making antibubbles is super easy and fun. The pump does all the work keeping the water level up and cleaning the surface. You can just sit there and make bubbles all day without a second thought.
Additional notes:
If you turn the pump off, the solution can siphon backwards and fill and overflow the bottom tray. Clamp the hose or remove it from the jar to prevent this when you turn the pump off.
The added salt to the solution makes it a little conductive so that the voltages of the solution and forming antibubble can be controlled.
The glycerin added to the solution helps keep the air film around the antibubble stable. Without it, air tends to either enlarge or reduce the film as gas is absorbed or released from the solution into the air film. This can break the antibubble fairly quickly and is generally a pain. Letting the solution sit overnight helps stabilize the gas levels in the solution reducing this but the glycerin really helps too.
By carefully directing the gentile water jet from the pump, you can make a whirlpool action that tends to keep the antibubbles centered in the jar. This helps them to last much longer buy keeping them from hitting the sides.
I hope these notes help you to make bigger antibubbles easily. If you have any questions, write me at: