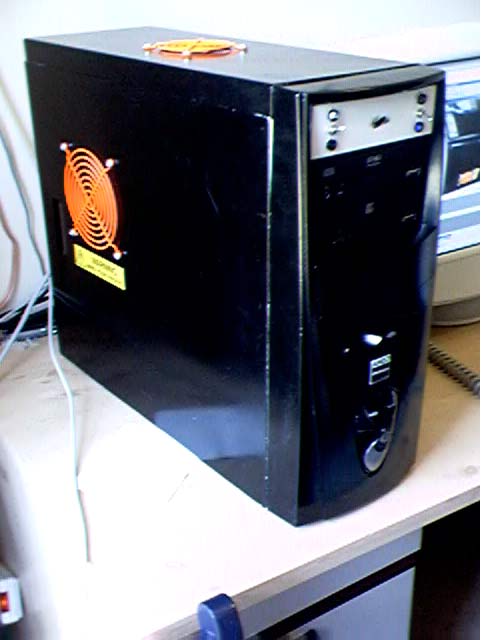
So far the only serious case modding i have done involves cutting extra fan holes with my dremmel. Information about this below. The below pictures are of my olf case, but i have done similar modification to my new case.
The cooler the cpu the more stable the computer is likely to be. Athlons, which are very popular cpu's at the moment (i have one) generate a lot of heat compared to pentium 3s. Pentium 4s I have heard are even worse. Cpus are kept cool with the aid of large heatsinks. These conduct heat away from the cpu. The design of the heat sink can make a difference in the cpu's temperature. The heat sink's size, shape, number of fins and composition are all important. The latest, most expensive heat sinks have numerous fins and are made of copper. Whilst expensive (>Ł30) they do seem to work very well.
A fan mounted on the heat sink helps cool the heat sink by transferring the heat into the air. The more air the fan blows over the heat sink in a given time period (cubic feet per minute usually) the faster heat is transferred from the heat sink to the air and the cooler the CPU can be kept. This heated air will then be trapped in the case, warming up the components of the computer and eventually rendering the heat sink useless as the air becomes the same temperature as the CPU. This doesn't quite happen of course as there is heat exchange between the air inside the case and the air outside. This exchange can be sped up by having fans blow air into the case and out of the case. The better the air flow through the case the cooler the CPU and other components.
The addition of extra fans in a case and the careful choosing of their placement and orientation can make a big difference to the temperature of the computer. The best set up is to have fans blowing in at the bottom of the case and out at the top. This works well because heat naturally rises. Many cases have a slot to add a fan in the front of the cases but systems don't always ship with a fan in this slot.
Often called blow holes, adding extra fan holes allows more fans to be added than the case was designed to support. The usual technique is to cut a circular hole in the case the same diameter as the diameter of the fans blades. Four small holes are then drilled in the case panel in the same placement as the four holes in the corners of the fan casing. The picture below shows the Circular hole that I cut for my 120mm fan in my side panel. It also shows the four small holes drilled to attach the fan to the case panel.
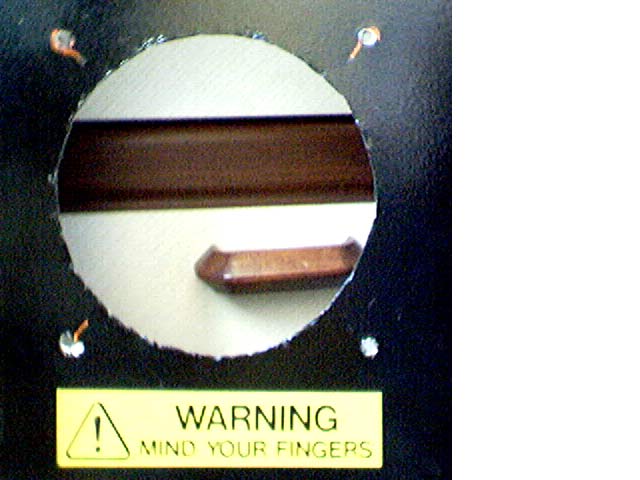
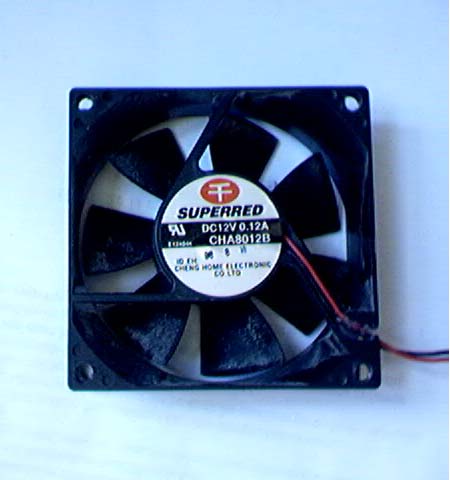
The easiest way to cut the hole is to use a dremmel with the circular cutting disk tool. I had no dremmel so I had to use a hand held electric jigsaw. This wasn't ideal but it worked. The circle should be measured and marked with a pen before it is cut. Once the hole is cut the edges are sharp and jagged and must be smoothed. I used a hand held metal file to do this. It took a long time but it was worth it in terms of appearance. The easiest way to line up the four holes for the screws is to place the fan in position and poke a pen through the holes in the fan to mark them on the metal sheet. The picture below shows the fan before it is attached. The four holes can be seen in each corner.
Once the holes are drilled the fan and fan grill can be attached. A fan drill is recommended as it helps stop things falling into the fan blades and snapping them. It also can look quite good. I painted mine bright orange to contrast with my black case.

I placed one extra 120mm fan in the side of my case blowing in so that my graphics card and CPU had air blowing onto them, and one 80mm fan blowing out in the top case panel. This seems to have worked very well.