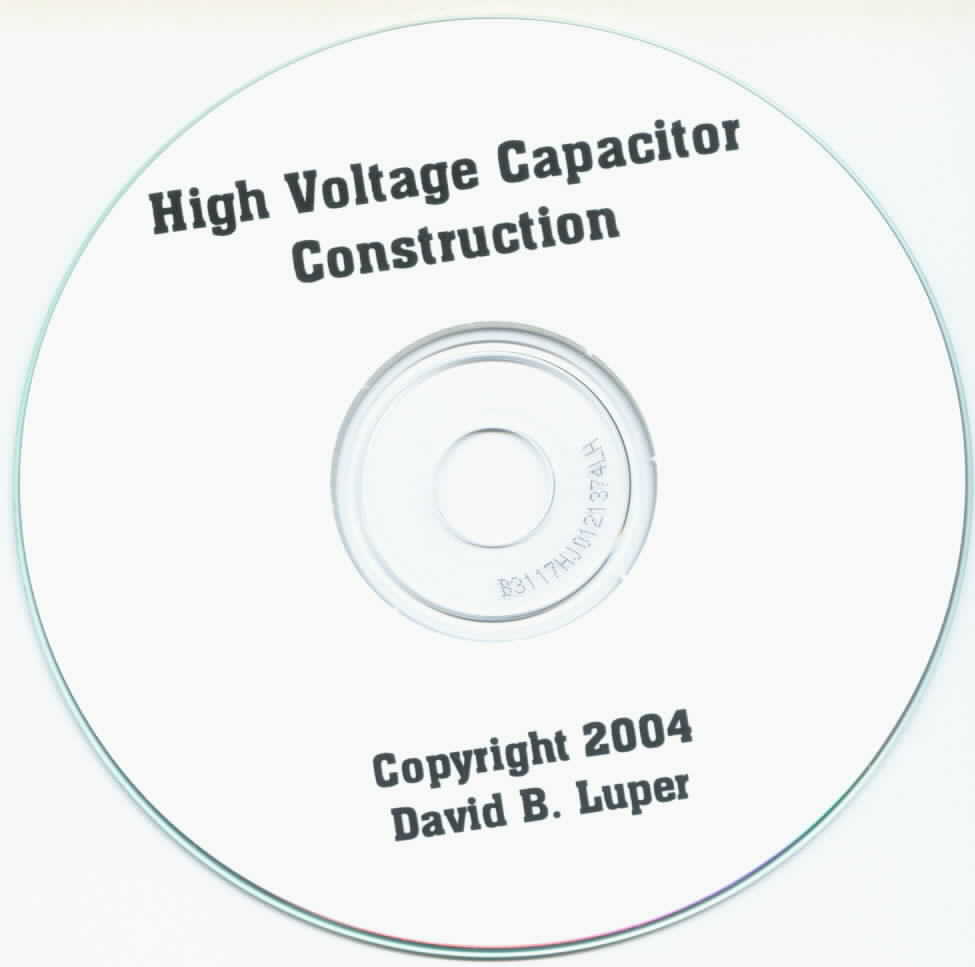

The e-bay auction closed on 5 July 2004 and the CD arrived via USPS on 8 July in good condition. Thatís pretty fast, so e-bayer "Universal Unlimited" gets good marks for shipping. My cost was $10.50 plus $3.85 for shipping, for a total of $14.35.
Media is standard CD-ROM. File type is MPG. Size is 407MB. Running time is 40 minutes, 30 seconds. Video quality is less than razor sharp, but it is adequate for the intended purpose. The audio quality is excellent. The file is compatible with both Windows Media Player and Real 1 Player and runs without any glitches on my XP system.
This is not a slick, professionally produced video, but more like one hobbyist explaining a new skill to a fellow hobbyist. The narrative style is casual and conversational. The camera tends to emphasize what the narrator is doing with his hands, rather than focus on the narrator. This is as it should be for a video of this type. In all fairness, I have not actually attempted to build the capacitors described in the video. However, with over 10 years experience as an Air Force technical training instructor and several more years experience as a shop supervisor and trainer, I have some sense of what makes a good training video and what doesnít. I happen to think this is a pretty good video. The verbal instructions are easy to understand, and together with the hands-on demonstration, makes for an enjoyable learning experience.
The authorís process does call for the construction of one simple template for use as a cutting guide. Aside from that, no special tooling is required, and anyone with normal hand tools should be able to duplicate the process described in the video. Likewise, the materials for the capacitors are pretty generic and should be available in any well-stocked hardware store or home improvement center.
I peg the skill level for building these capacitors at "intermediate". A true newbie might have a bit of trouble with this at first, but an old hand who is accustomed to fabricating his own Tesla coil parts will probably have no trouble. I also suspect that non-electronics types who are good at working with their hands--potters, woodworkers, etc.--will find the process pretty easy.

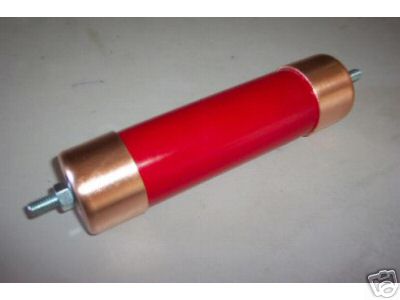
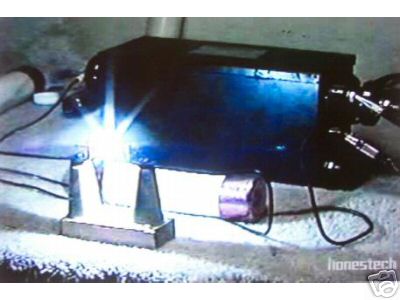
So was this worth $14.35? Yeah, I think it was. The author's design is really a variation on the rolled poly cap, and there's nothing new about that. What is new is his unique design, which has an unusually low count of readily available parts, resulting in a very cheap, compact, and neat finished product. Stencil some block lettering on the side of one of these and you could probably pass it off as a commercial cap! The video taught me something new, and Iíve been coiling a long time. Even before I finished watching the whole show, my mind was running ahead with ways to make the capacitors simpler, cheaper, bigger, etc. In other words, it gave me an idea of a general design path to follow. Of course, if you want a predictable outcome with minimal risk of failure, you can just exactly copy the authorís procedure. The still video frame (below) shows a finished 10nF unit (pictured above) discharging across a 1/2-inch spark gap under the influence of a 15kv/30ma NST. This is very harsh dv/dt duty, so perhaps the thing would hold up ok in a Tesla coil. If I ever get my workshop situation straightened out, I'll make some of these caps, put them to the test in a Tesla tank circuit, and report the results here.
