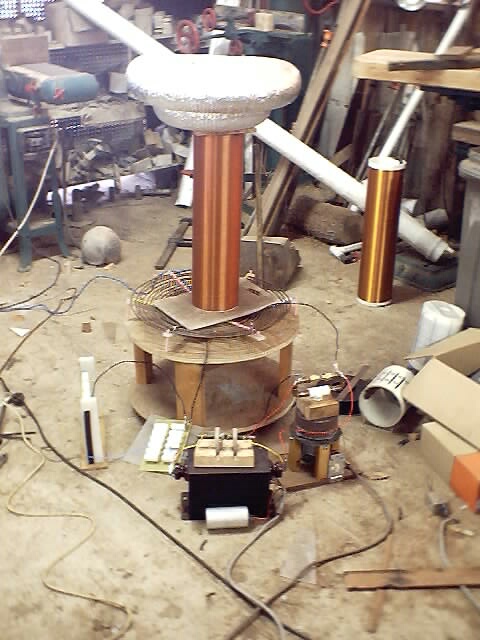
My 900 Watt tesla coil setup
This coil was built in manny different stages, the way i like to make the parts for my coils is to design each section so that it can be reconfigured to work with almost any coil design i can think of. Not just the one it was designed for, this makes it very easy for me to change any one unit (like when i got the new 15kv 60ma NST) and just adjust all the others to work around it.
Vacuum Quenched Spark Gap
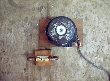
This gap performed very well on my coil, increasing the total spark length by about a foot. This may not have been all from the fact that it is a vacuum gap, also i think that the total spaceing was larger, allowing higher voltages to develop in the capcaitors before breakign over. It sounds like a jet engine is takeing off when i turn the power up to full, probably adding to the impressivness of the entire coil :)
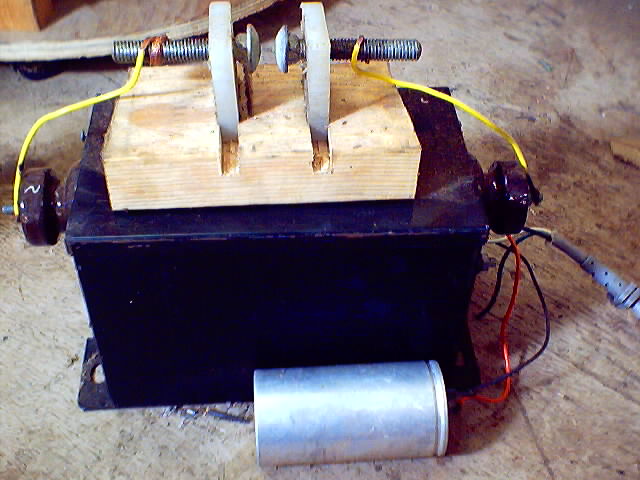
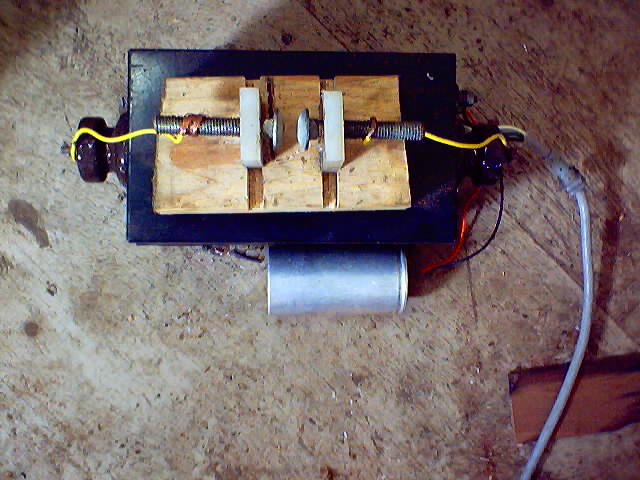
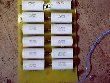
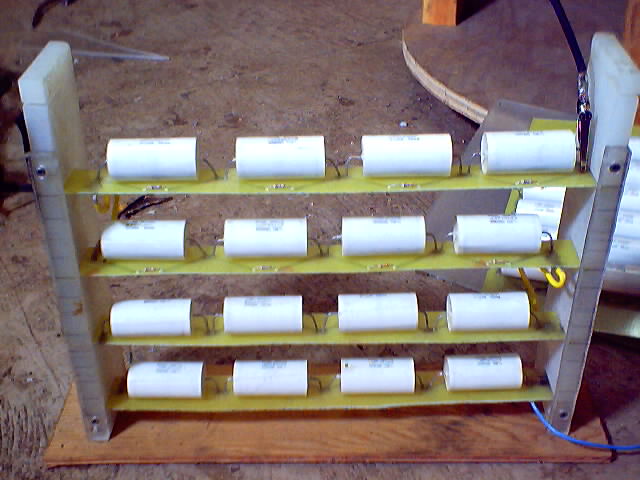
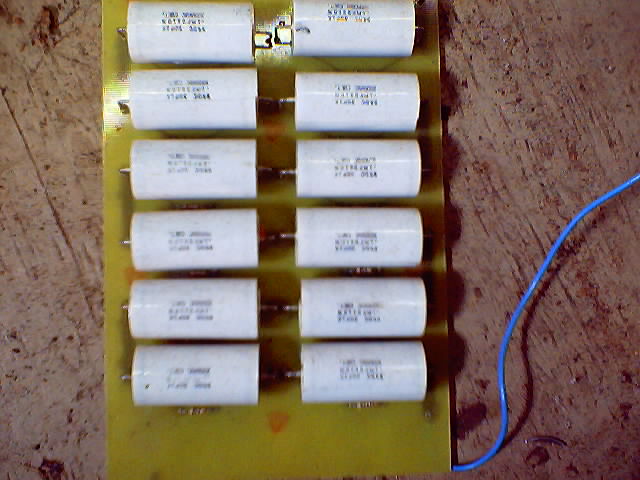
MMC (Multi Mini Capacitor)
 \
\
Here is the mmc capcitors i use with this coil, each unit is .01 uf 36kv built with .1uf 3kv metalized polypropylene capacitors which i bought for 1.8 $ each, with 10meg resistors in parallel with each capacitor to discharge them. I connect both units in parallel so that i get .02 uf 36kv with more than enough safety margin.
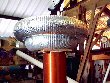
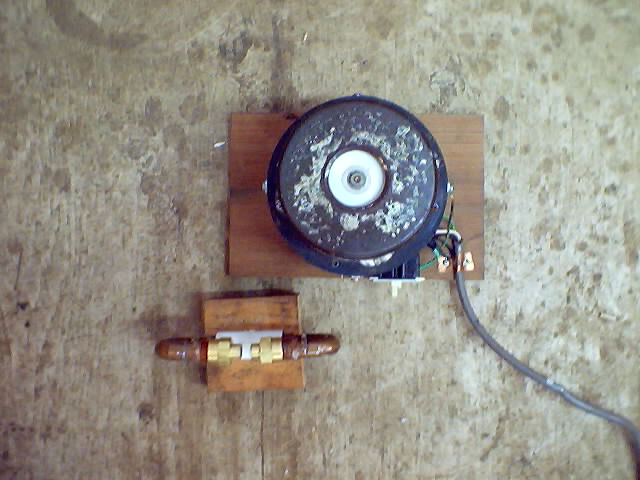
Power Supply


Here is my pride and joy :) a 15kv 60ma NST i was lucky enough to find at that local (and only) neon shop for 20 $
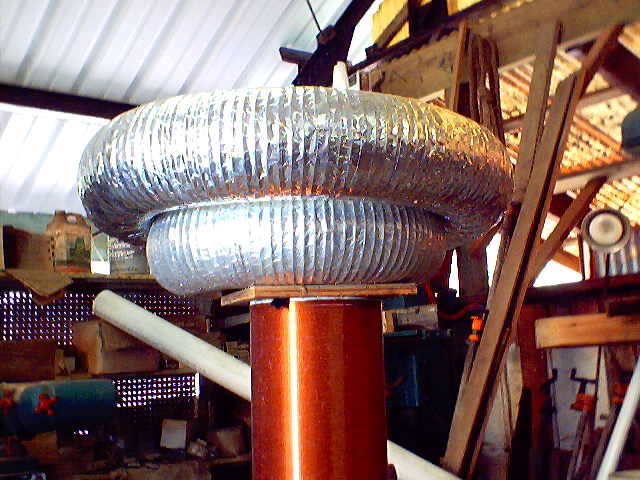
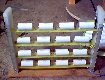
Toroid

My toroids were both made from the same materials even though one is alot larger than the other, the one on the right shows how it looked before i put on the aluminum foil. I know that in the pic there is aluminum tape, but i found it much cheaper and faster to just use heavy duty aluminum foil cut in strips with a razor blade and then sprayed with glue (the kind used to glue sandpaper to electric sanders) each strip was then applied to the ring. Oh and the ring was made out of 4 " plastic ducting for a dust collection system my dad has (he didnt miss a few feet of it ;).

 \
\